


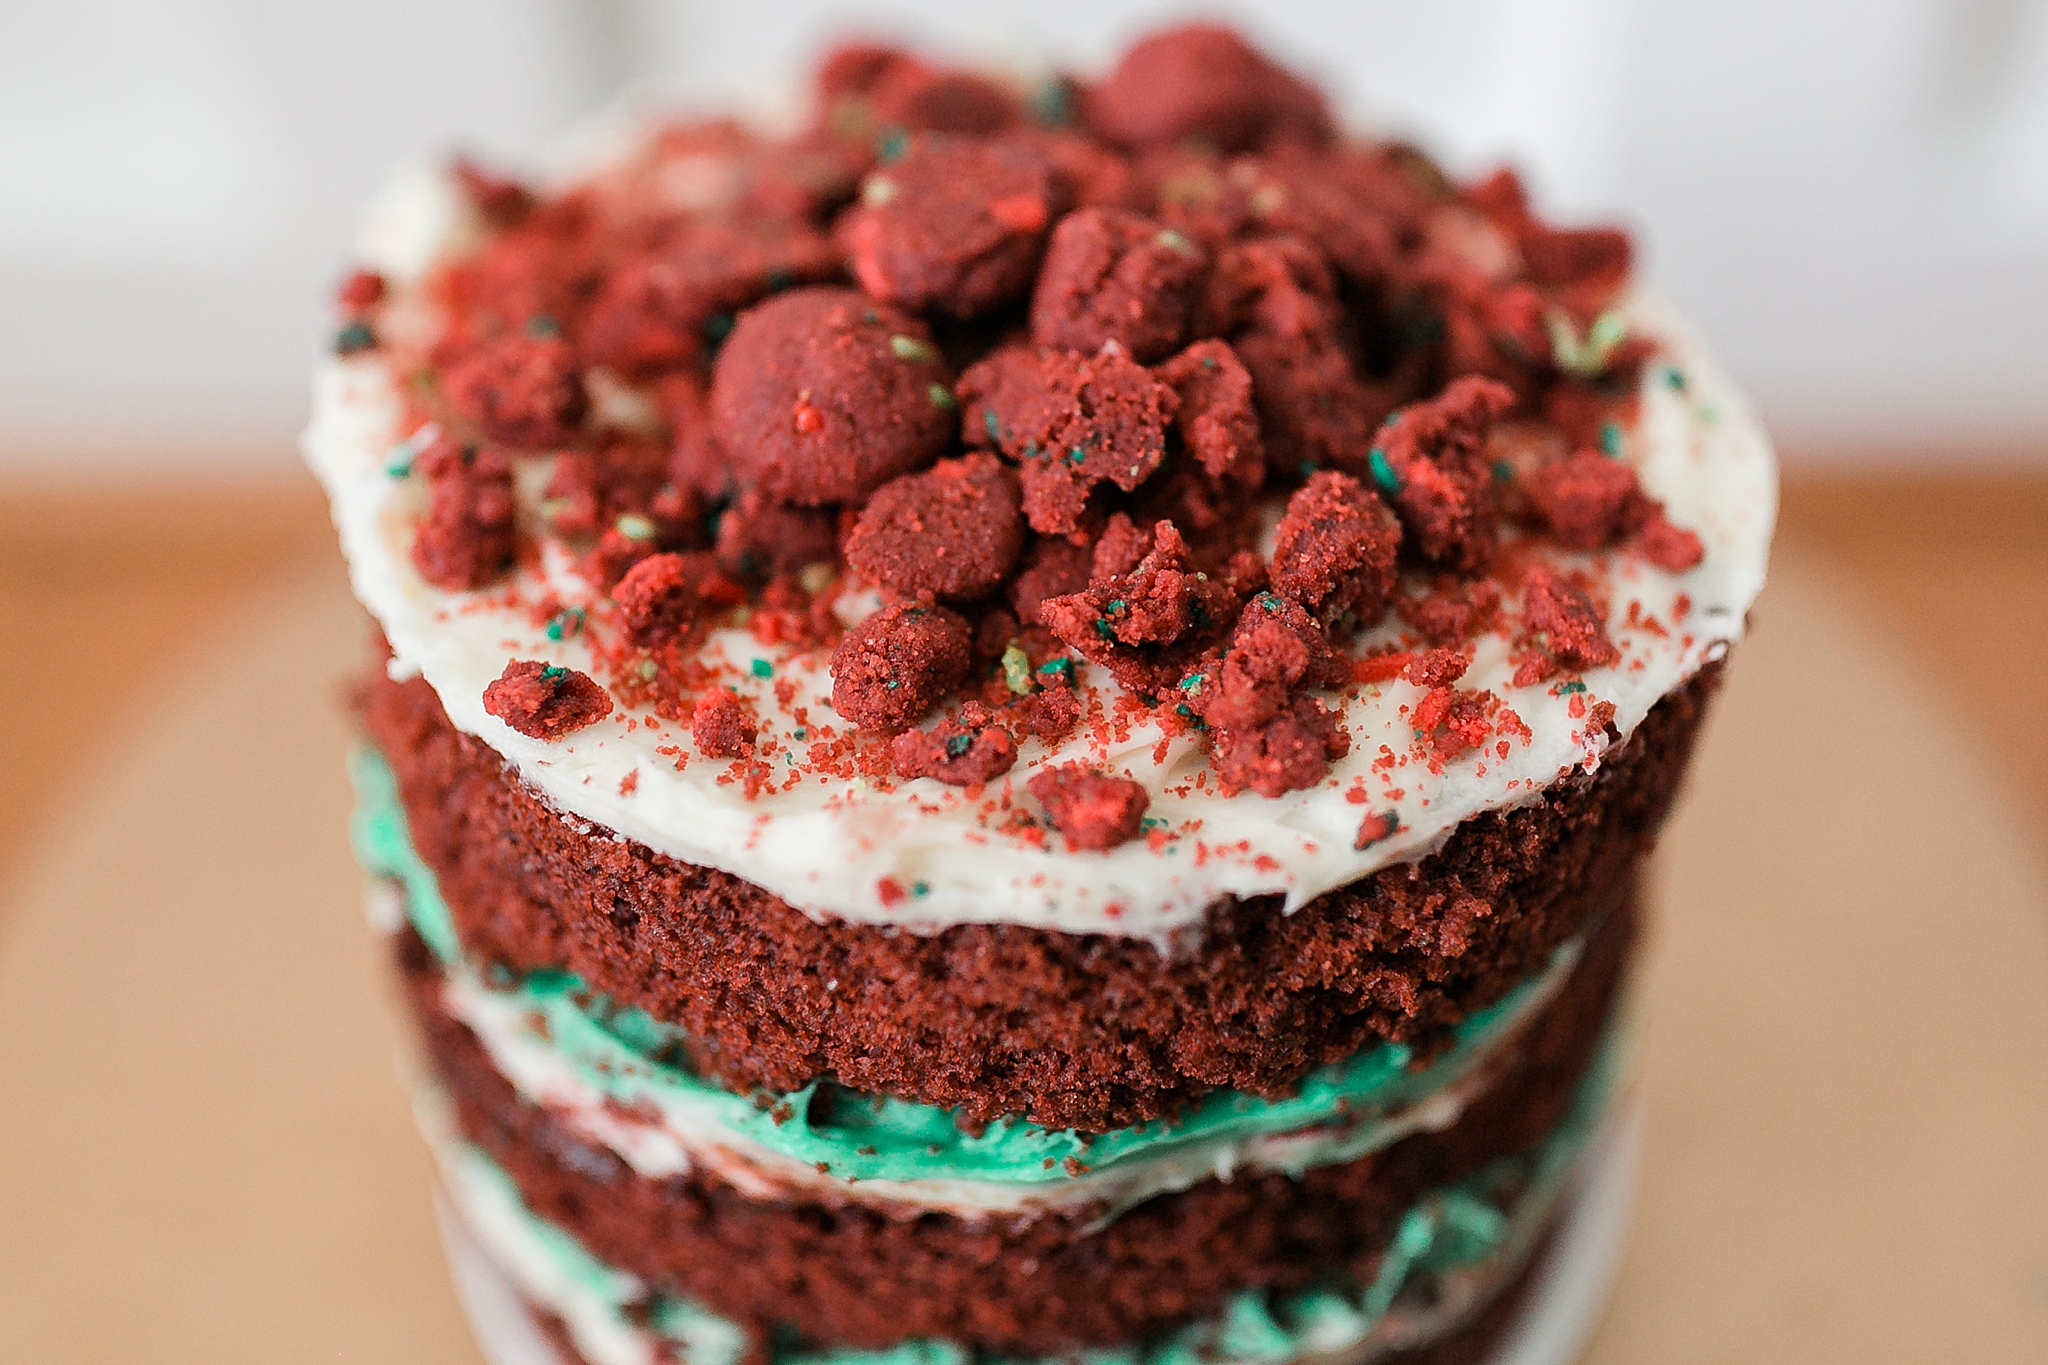
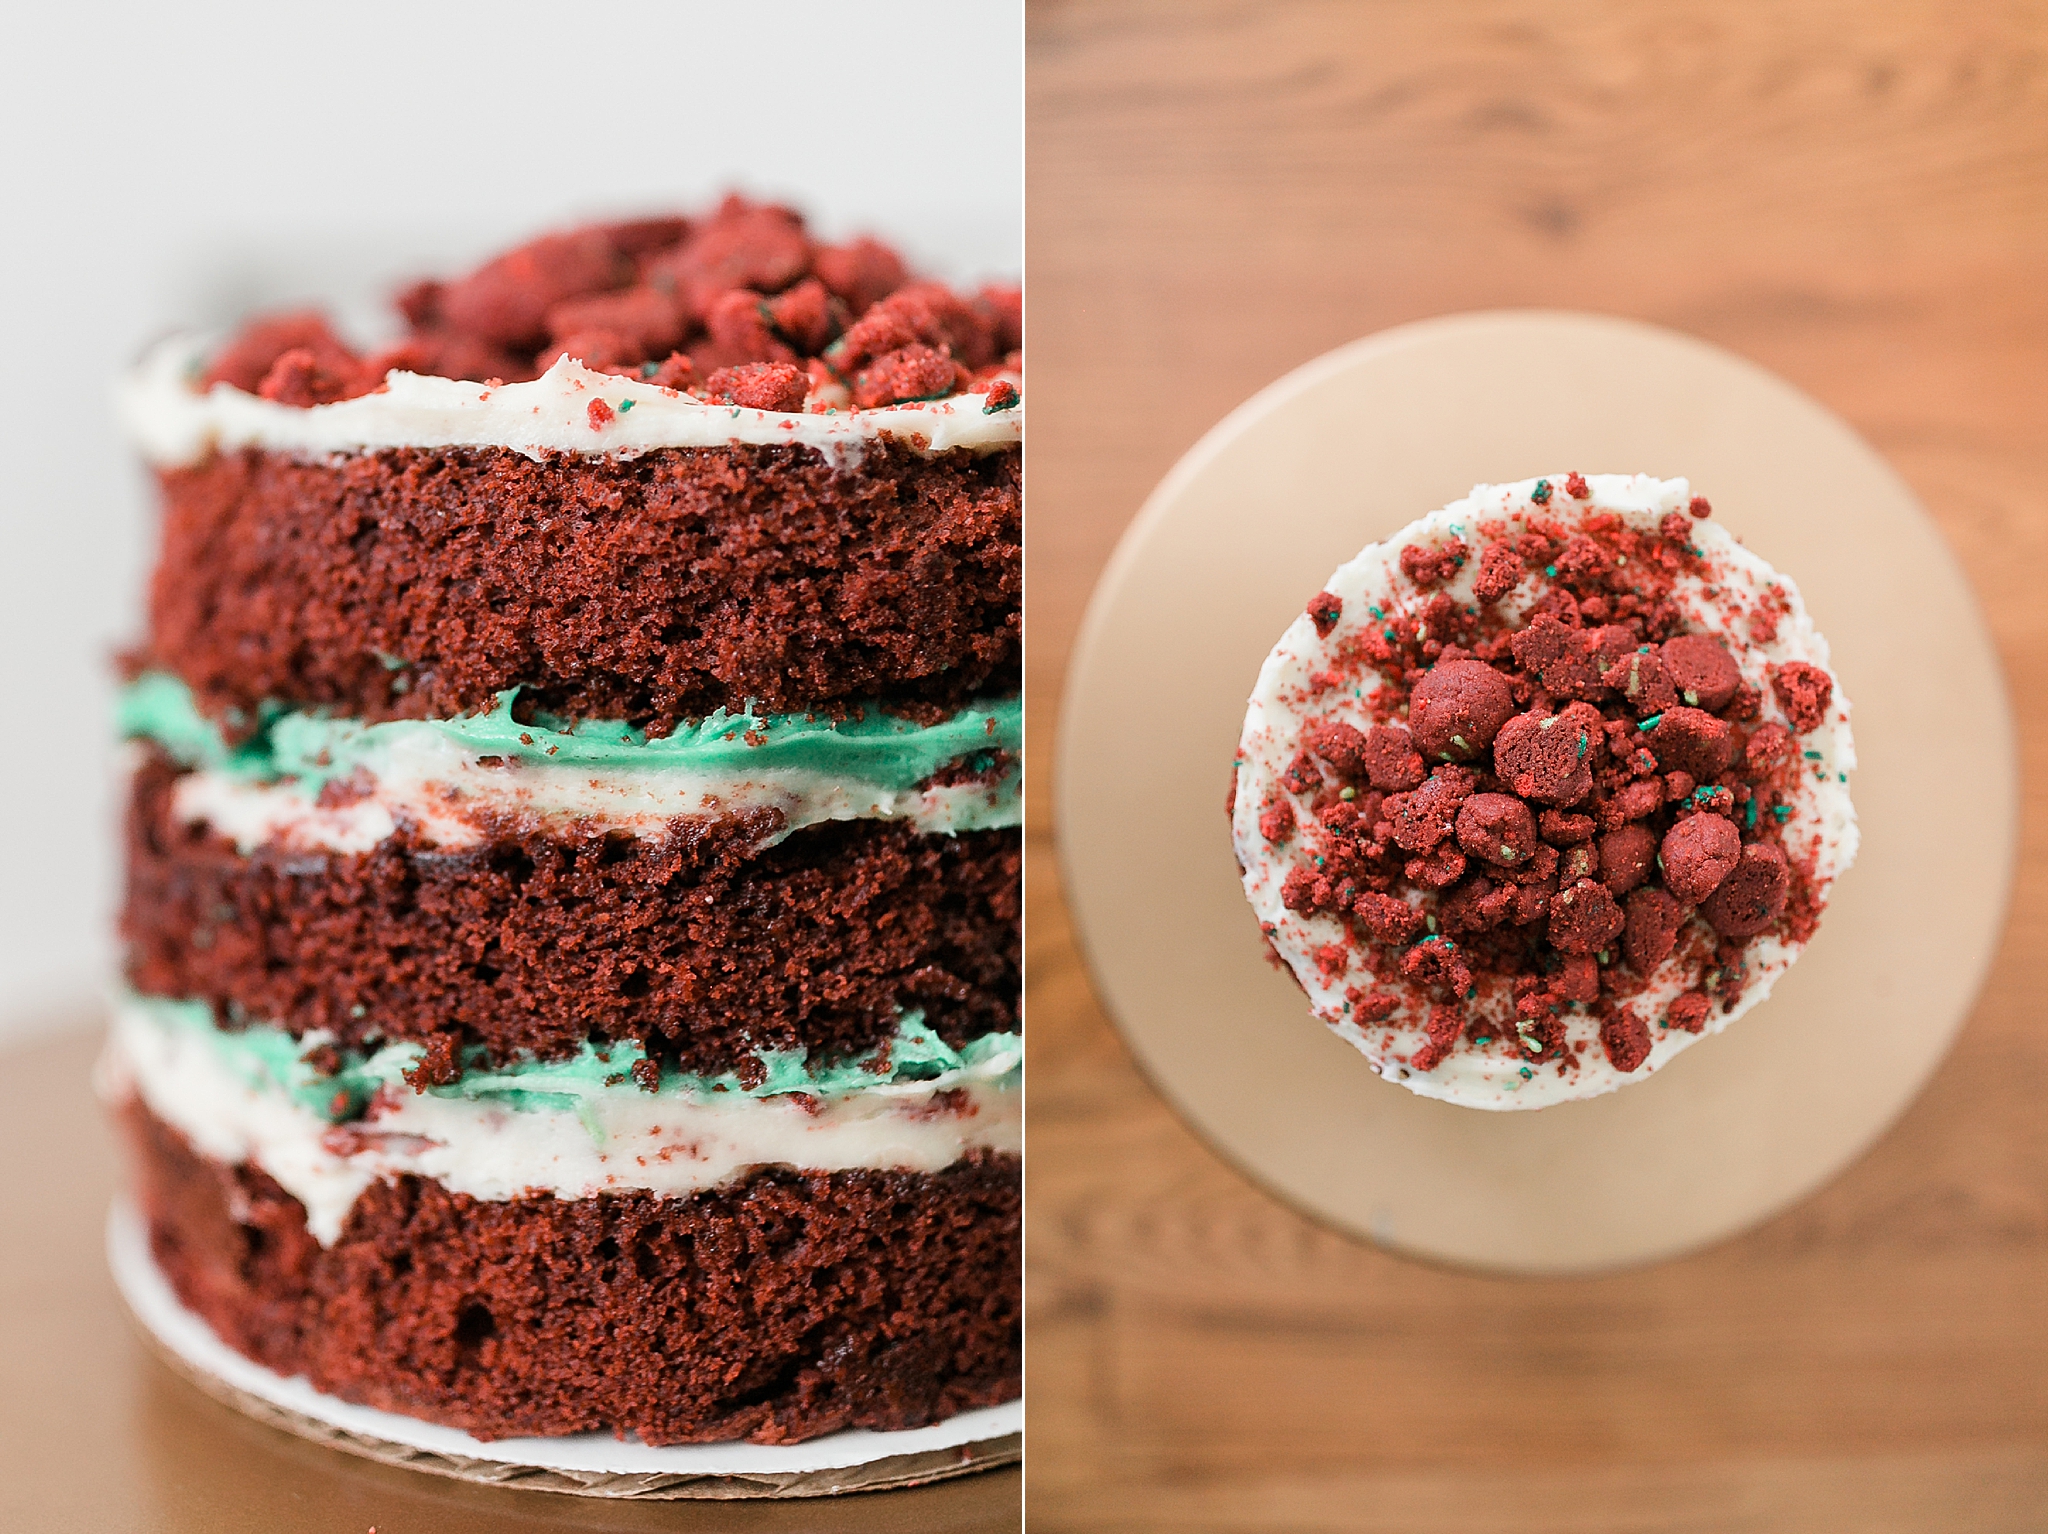
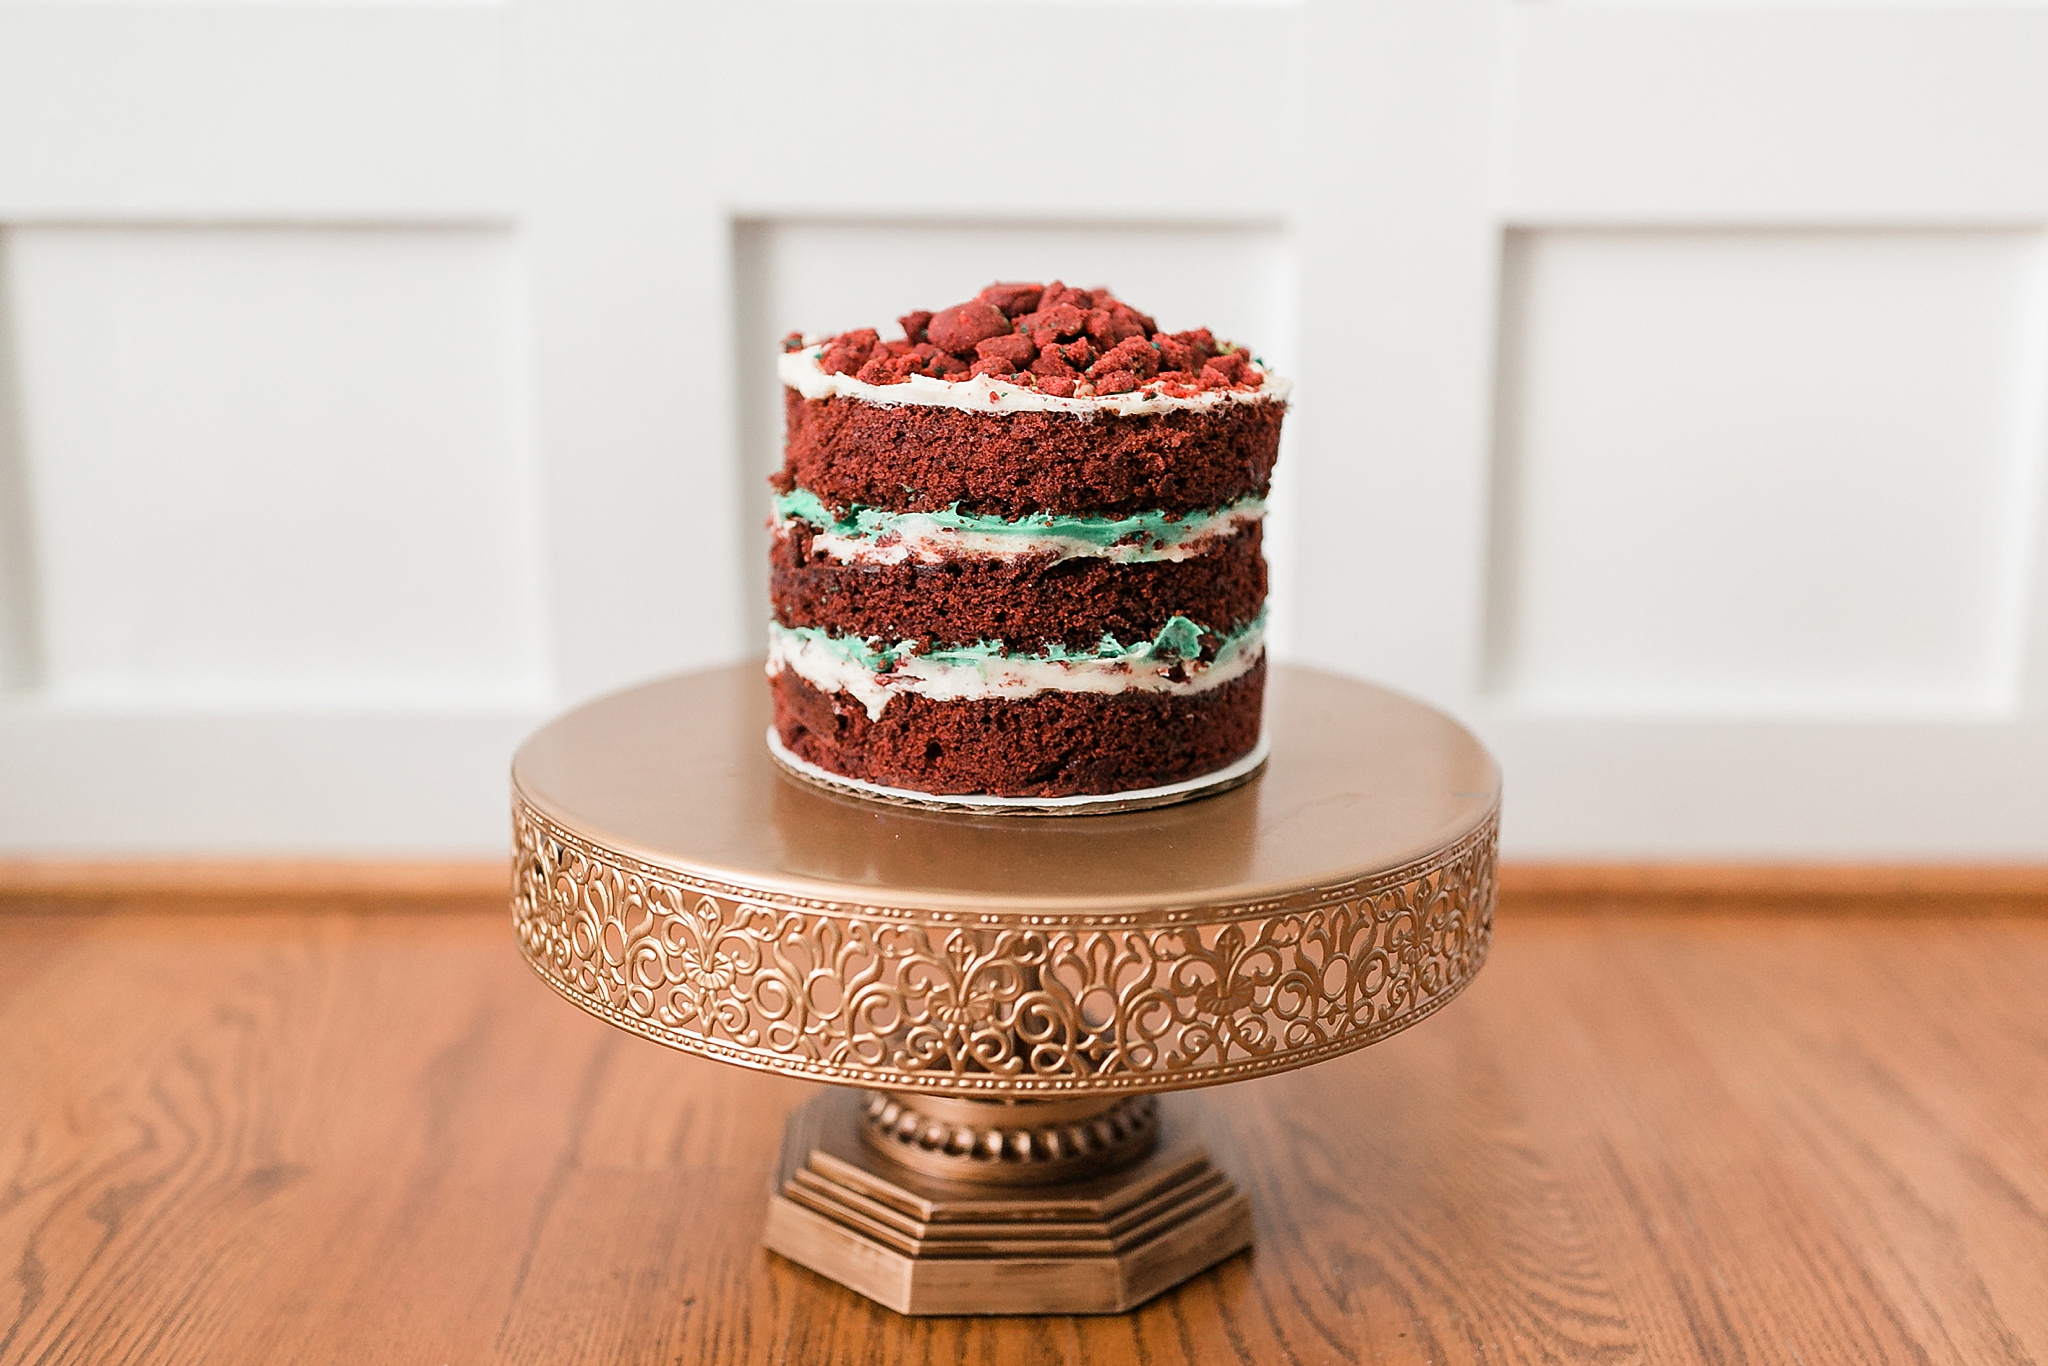
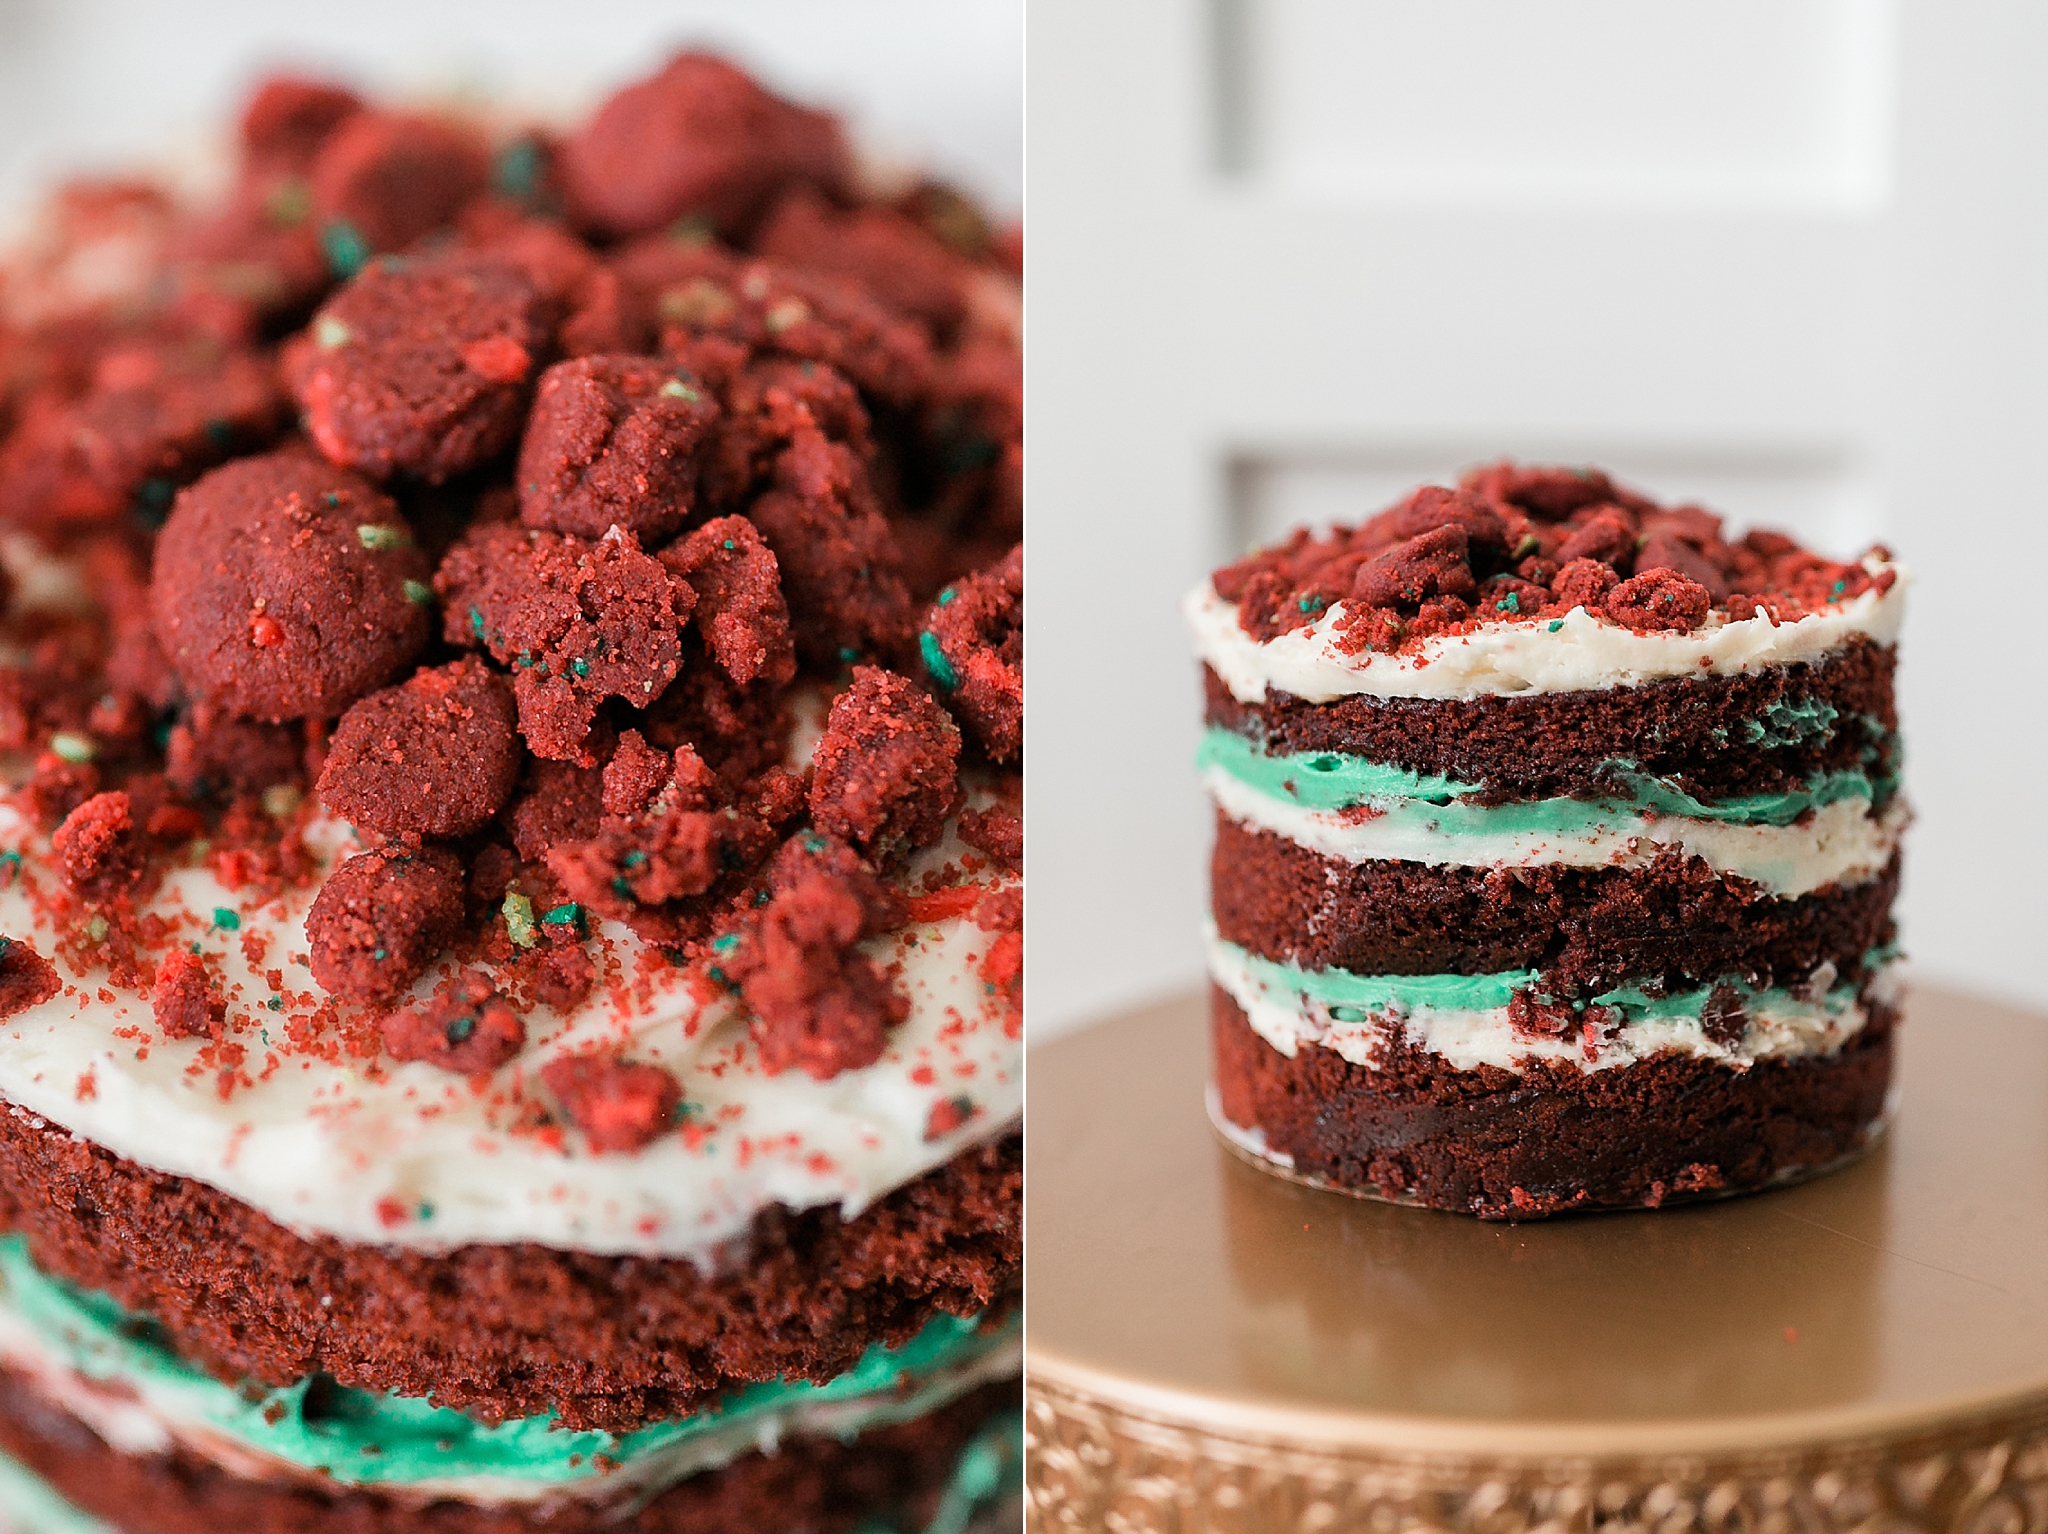
Last December, I attended a baking class at Milkbar in Washington, DC with one of my dear friends where we learned how to build their infamous layered Birthday Cake! I had actually made this cake at home a few years prior, but it’d been a long time and it’s always fun to get out of the house to do something “adult” (#momlife). Our cakes turned out pretty awesome and it got me thinking about what other variations would be fun to create! They have a few others on their website, but none appealed to me so I started scouring the internet for a red velvet version. I couldn’t find anything I loved, so I started to create my own by tweaking Milkbar’s birthday cake version and I was super happy with how it turned out! I made mine for the holidays, so I tinted some of the icing green — if you don’t celebrate Christmas or it isn’t the holiday season, simply forgo this step for a gorgeous red velvet cake (with cream cheese icing!) that can be enjoyed all year long!
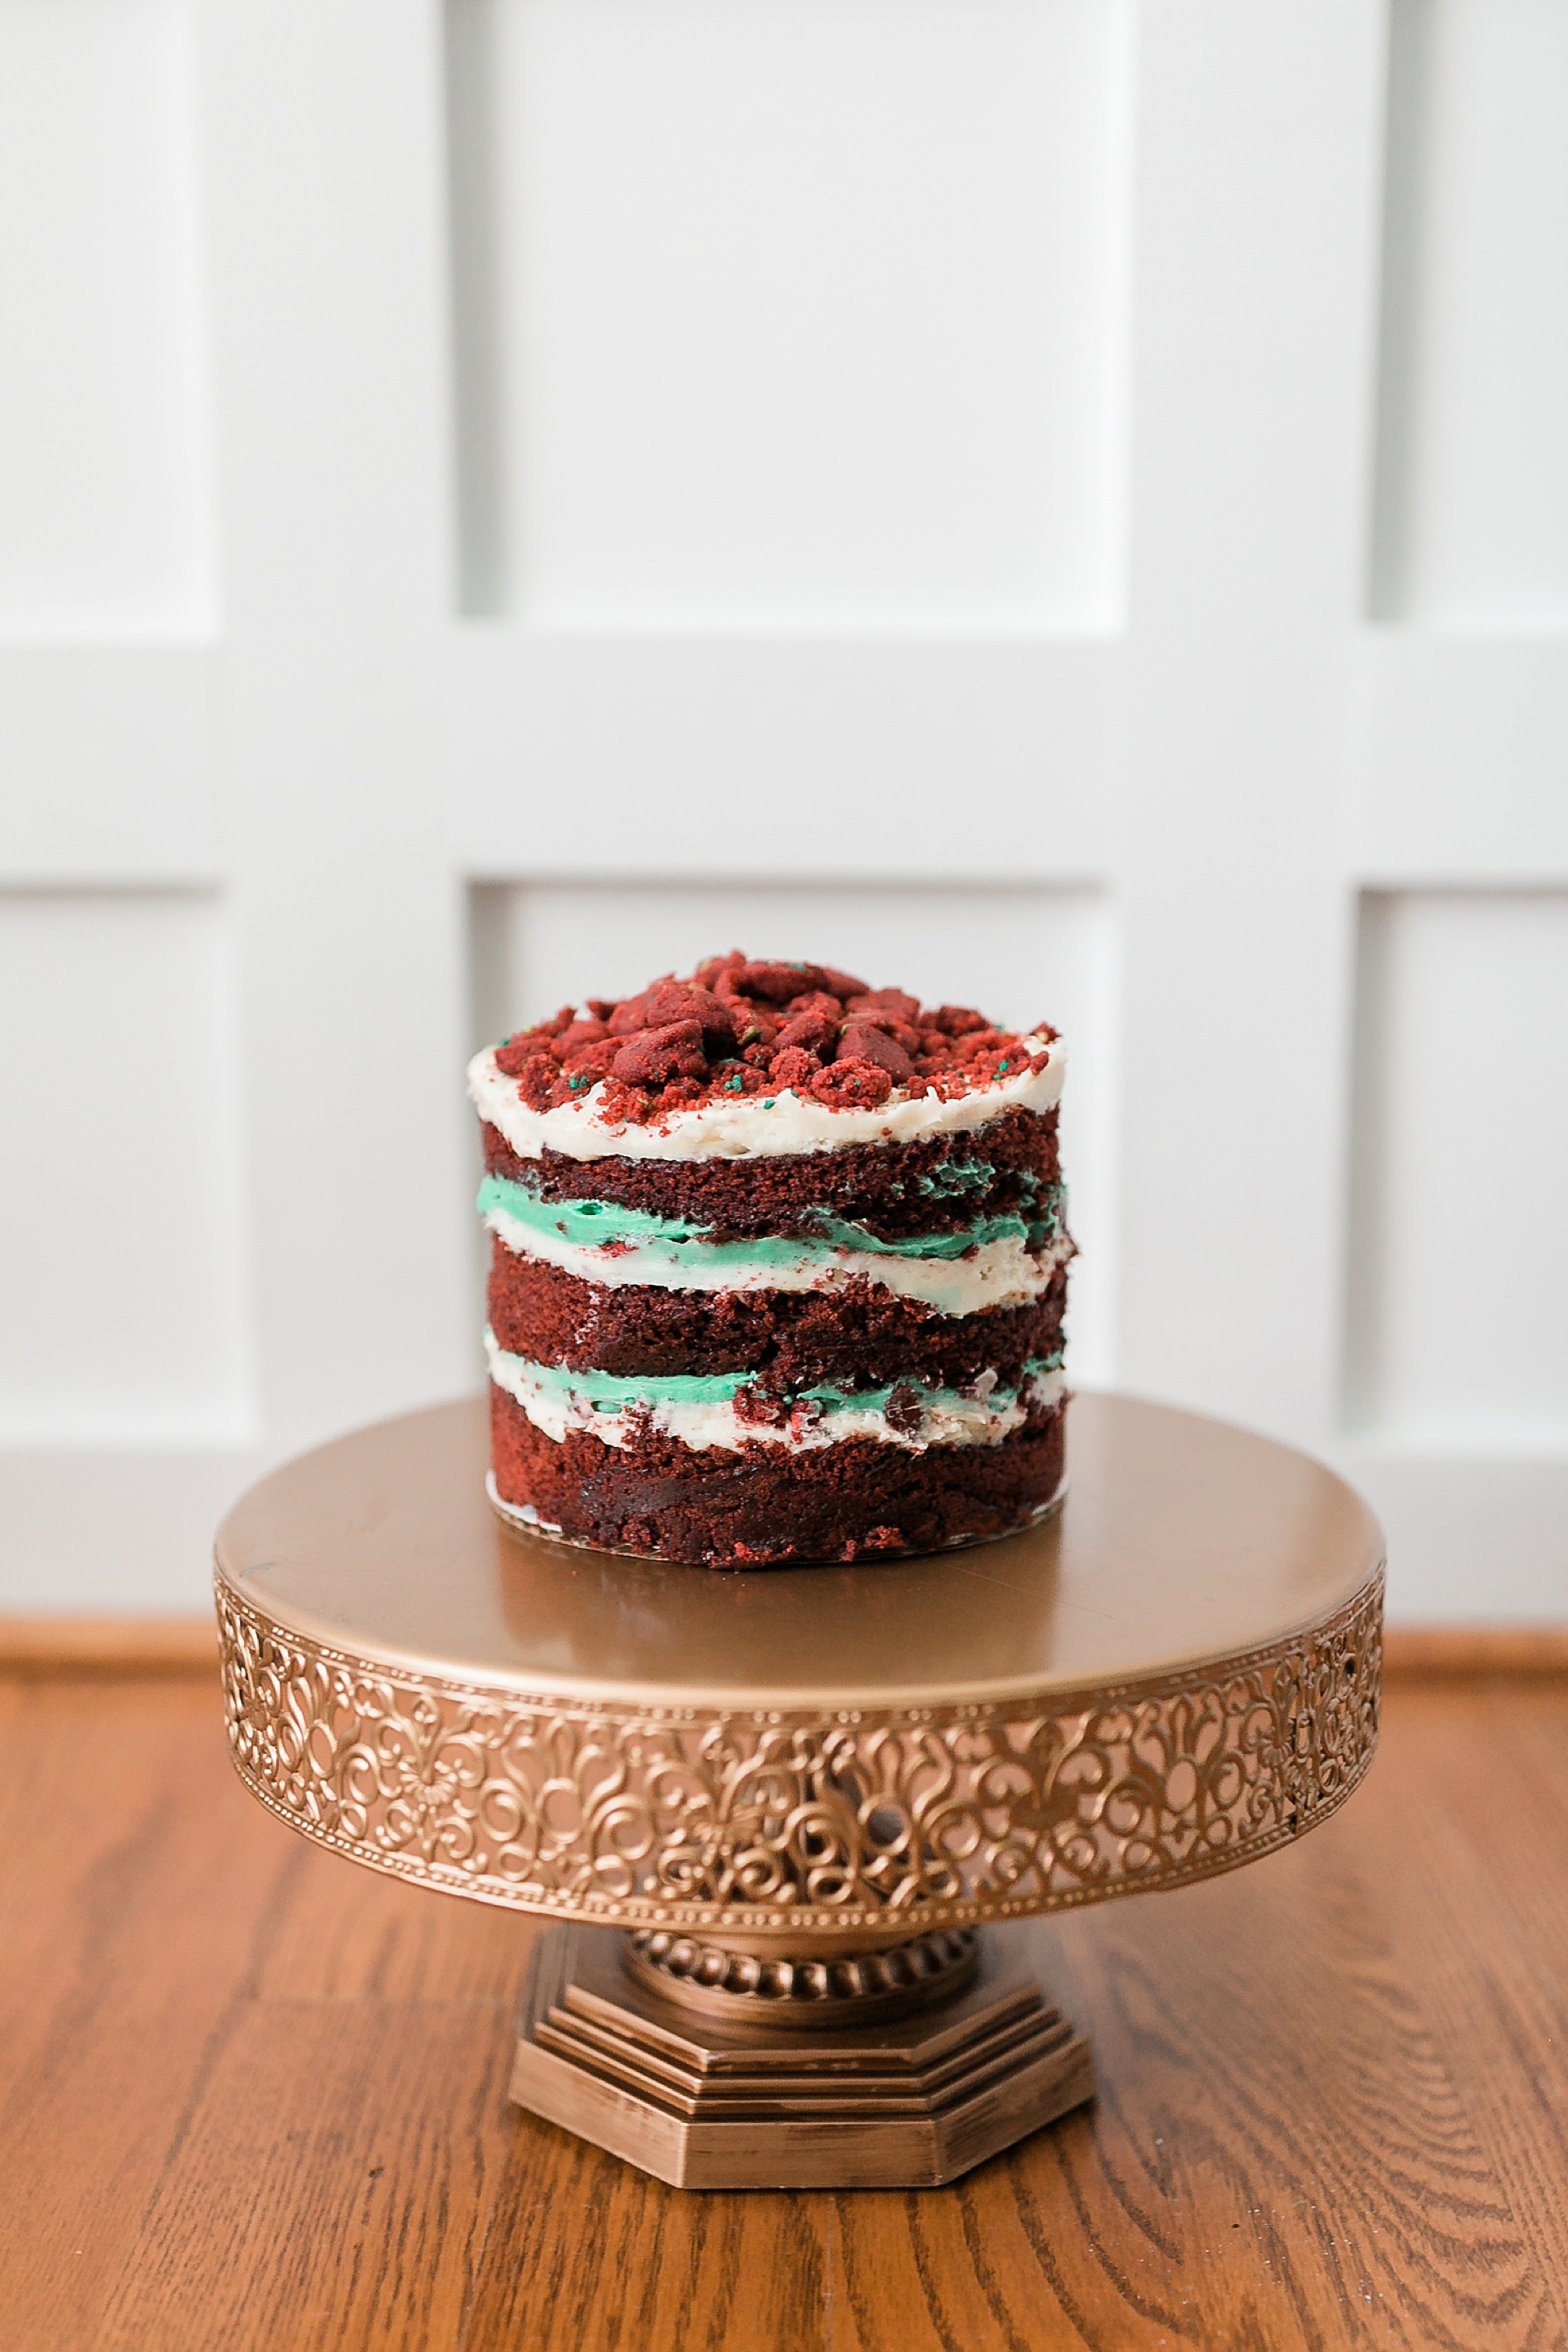
RED VELVET MILKBAR CAKE
By: Milkbar (cake is a variation of this recipe I created and assembly instructions can be found here as well!)
RED VELVET CAKE
½ stick butter, at room temperature
1/3 cup vegetable shortening
1 ¼ C granulated sugar
3 Tbsp light brown sugar
3 eggs
½ C buttermilk
2 tsp white vinegar
1/3 C grapeseed oil
2 tsp vanilla extract
1 ¾ C cake flour
¼ C cocoa Powder
1 1/2 tsp baking powder
¾ tsp kosher salt
1 tsp red food coloring
1. heat the oven to 350°f.
2. combine the butter, shortening, and sugars in the bowl of a stand mixer fitted with the paddle attachment and cream together on medium-high for 2 to 3 minutes. scrape down the sides of the bowl, add the eggs, and mix on medium-high for 2 to 3 minutes. scrape down the sides of the bowl once more.
3. on low speed, stream in the buttermilk, vinegar, oil, and vanilla. increase the mixer speed to medium-high and paddle for 4 to 6 minutes, until the mixture is practically white, twice the size of your original fluffy butter-and-sugar mixture, and completely homogenous. don’t rush the process. you’re basically forcing too much liquid into an already fatty mixture that doesn’t want to make room for that liquid. there should be no streaks of fat or liquid. stop the mixer and scrape down the sides of the bowl.
4. on very low speed, add the cake flour, cocoa power, baking powder, and salt. mix for 45 to 60 seconds, just until your batter comes together. scrape down the sides of the bowl. 5. pam-spray a quarter sheet pan and line it with parchment. using a spatula, spread the cake batter in an even layer in the pan.
6. bake the cake for 30 to 35 minutes. the cake will rise and puff, doubling in size, but will remain slightly buttery and dense. at 30 minutes, gently poke the edge of the cake with your finger: the cake should bounce back slightly and the center should no longer be jiggly. leave the cake in the oven for an extra 3 to 5 minutes if it doesn’t pass these tests.
7. take the cake out of the oven and cool on wire rack
HOT COCOA MILK SOAK
½ C Milk
1 Tbsp Cocoa Powder
1 Tbsp Powdered Sugar
1. whisk together the milk, cocoa, and sugar in a small bowl.
CREAM CHEESE FROSTING
4 tablespoons butter, at room temperature
¼ C vegetable shortening 4 oz cream cheese
1 TBSP glucose
1 TBSP corn syrup
1 TBSP vanilla extract
1 ¼ C confectioners’ sugar
½ tsp kosher salt baking powder (pinch)
1. combine the butter, shortening, and cream cheese in the bowl of a stand mixer fitted with the paddle attachment and cream together on medium-high for 2 to 3 minutes, until the mixture is smooth and fluffy. scrape down the sides of the bowl.
2. with the mixer on its lowest speed, stream in the glucose, corn syrup, and vanilla. crank the mixer up to medium-high and beat for 2 to 3 minutes, until the mixture is silky smooth and a glossy white. scrape down the sides of the bowl.
3. add the confectioners’ sugar, baking powder, and salt, and mix on low speed just to incorporate them into the batter. crank the speed back up to medium-high and beat for 2 to 3 minutes. i tinted 1/4 of mine green for an extra layer of color, but this step isn’t required!
RED VELVET CAKE CRUMB
½ C granulated sugar
1 ½ tbsp light brown sugar
¾ C cake flour minus 1 Tbsp
1 tbsp cocoa powder
½ tsp baking powder
½ tsp kosher salt
¼ C grapeseed oil
½ tsp white vinegar
2 tsp vanilla extract
1 TBSP sprinkles
red food coloring
1. heat the oven to 300°f.
2. combine the sugars, flour, baking powder, salt, and cocoa powder in the bowl of a stand mixer fitted with the paddle attachment and mix on low speed until well combined.
3. add the oil, vinegar, vanilla, sprinkles, and food coloring and paddle again to distribute. the wet ingredients will act as glue to help the dry ingredients form small clusters; continue paddling until that happens.
4. bake for 15 minutes at 300°f; cool completely when done. don’t overbake as these will harden a bit as they cool!
Full assembly instructions can be found here — enjoy!
A Red Velvet Milkbar Cake Recipe


add a comment
+ COMMENTS