


The idea of canning has always really intimidated me. I’m not sure why; I love all types of cooking and baking and am always up for a challenge. I guess there was something about the idea of it that just made me think it was super hard to master. Trust me when I say, it ended up being a breeze!! We nailed it on the first try — I know that sounds like a humblebrag, but I honestly think anyone could be successful with this recipe.
There are a lot of instructions and I recommend reading them through several times before starting. The most important way to get it right is to follow the instructions to a T. Often, when I’m cooking/baking, I take liberties and add spices I think would give more flavor or eliminate ingredients that I’m not a fan of… Here, that’s not possible. Do exactly what the recipe calls for and I can almost promise you won’t fail!
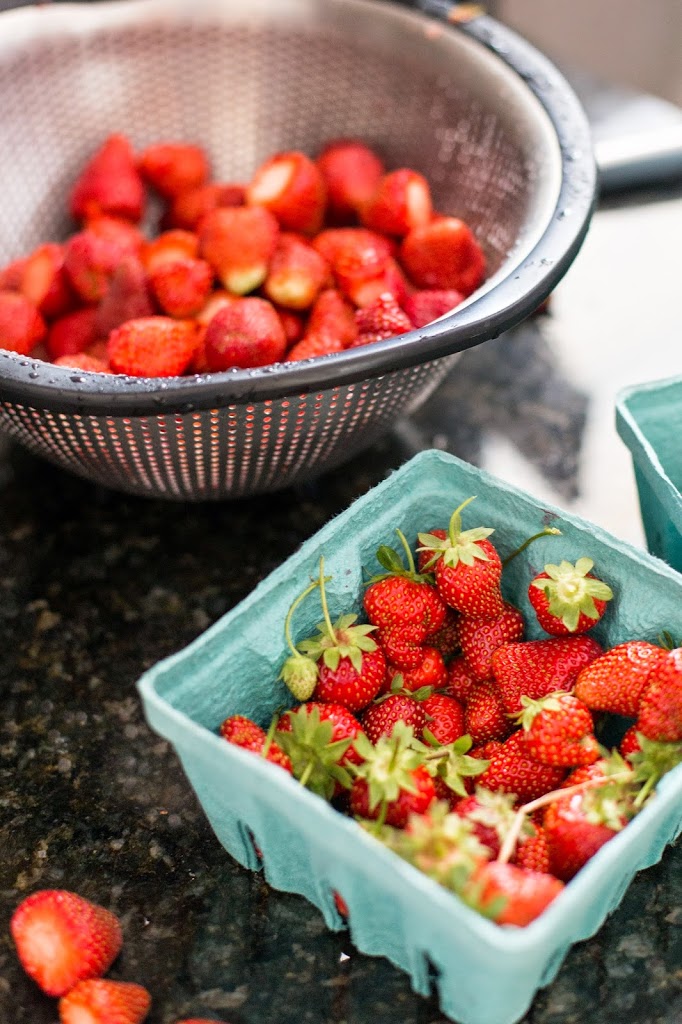
Another insider tip — the strawberries you use make ALL the difference. If possible, try going to pick your own (PYO) or go to a local farmer’s market for the freshest variety possible. Anyone living in Northern VA, I highly recommend Green Truck Farms in Markham… They are super kind people with some delicious PYO strawberries! We always pick the “Sweet Charlie” variety and they do not disappoint.
Don’t get overwhelmed by all the steps below… I promise it’s easy!
Strawberry Jam
by SureJell
Ingredients:
- 1 Box SureJell, For Less or No Sugar Needed Recipes (Pink Box)
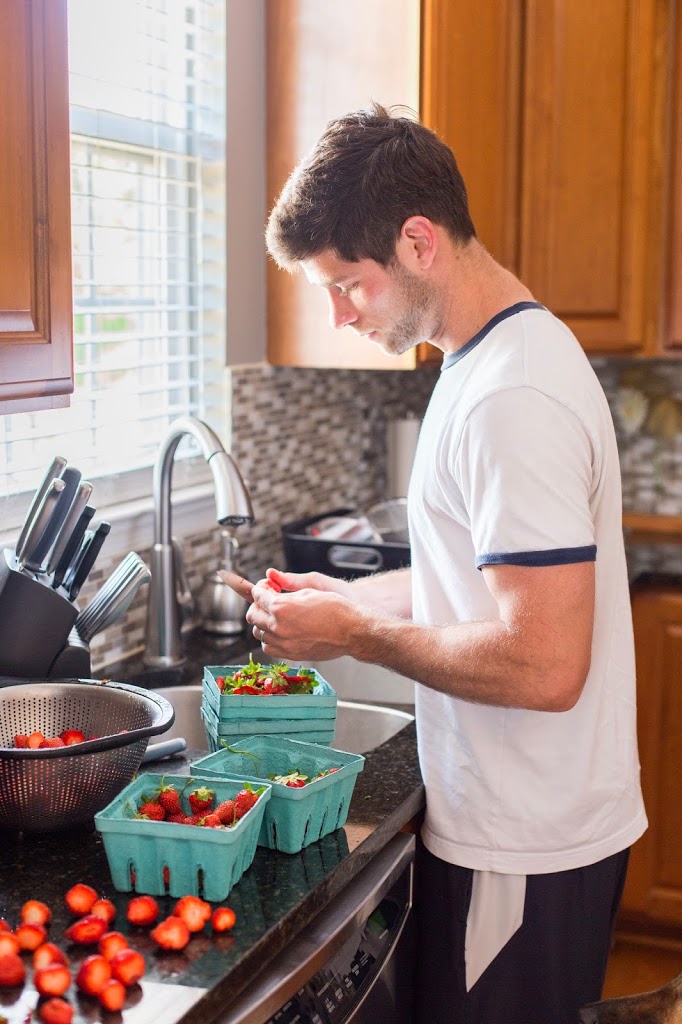
- 6 Pints Strawberries (discard stems).
- 4 Cups Sugar
Directions:
1. Bring boiling-water canner, half full with water, to a simmer.
2. Wash jars and screw bands in hot water. Pour boiling water over flat lids in a saucepan. Let stand in water until ready to use — drain before using.
3. In a bowl, measure exact amount of sugar. It is important that you do not reduce the sugar! Take 1/4 cup sugar from the measured amount and mix with 1 box of SureJell in a small, separate bowl.
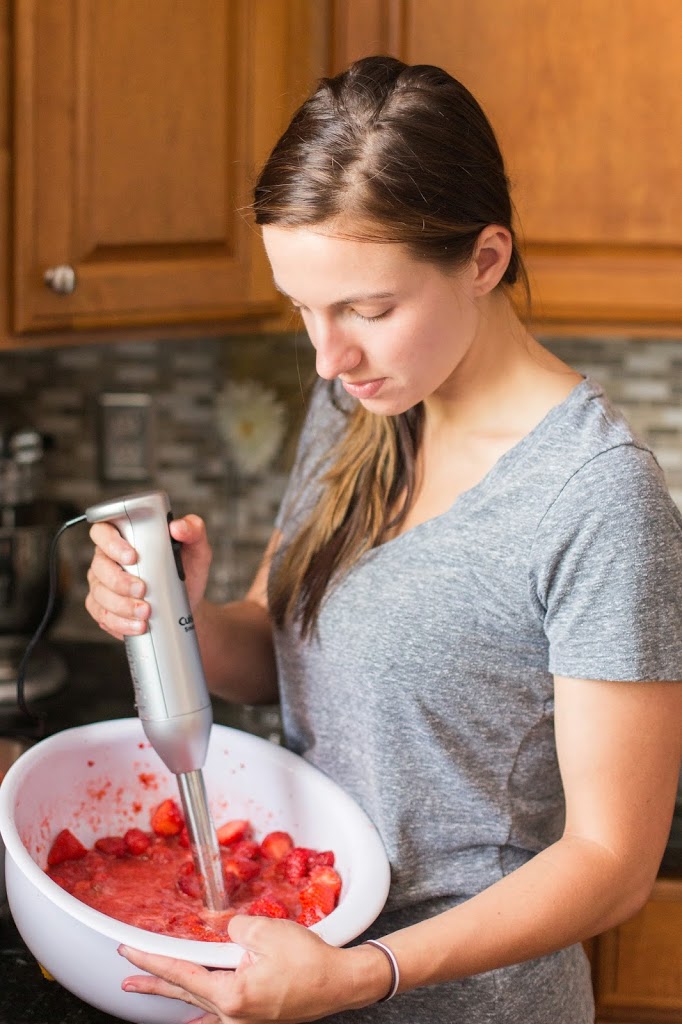
4. Prepare crushed fruit using a potato masher or immersion blender. Do not puree — jams should have bits of fruit.
5. Measure 6 cups of crushed berries into a 6-8 quart sauce pot.
6. Stir the pectin-sugar mixture into fruit. Add 1/2 teaspoon butter to reduce foaming, if desired.
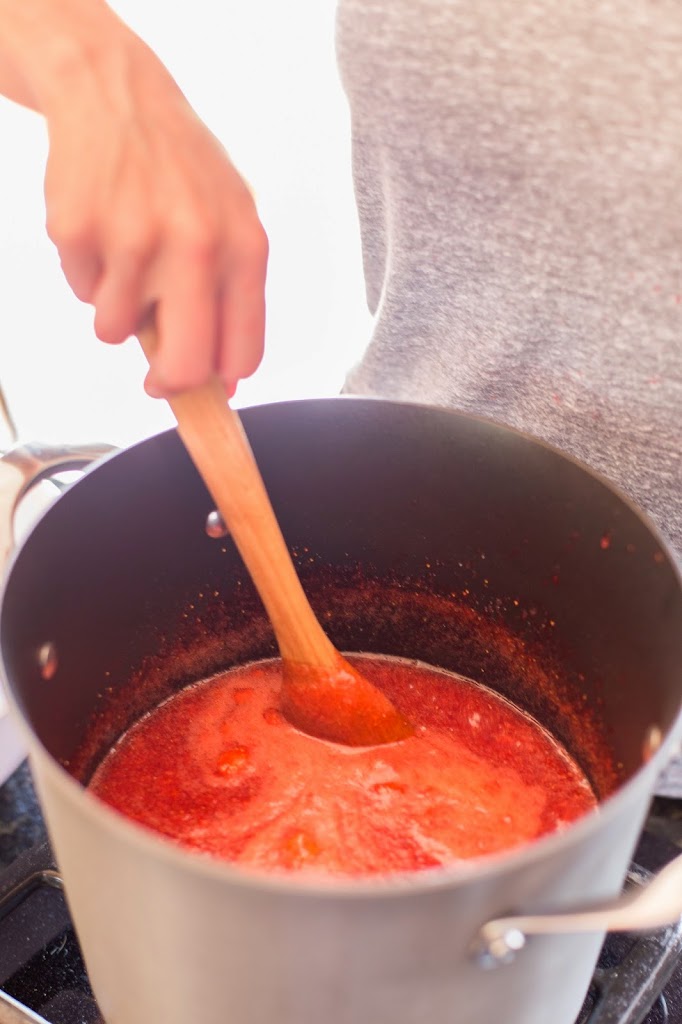
7. Bring mixture to a full rolling boil (a boil that doesn’t stop bubbling when stirred) on high heat, stirring constantly.
8. Stir in remaining sugar quickly. Return to a full rolling boil. Once it begins to boil, boil for exactly 1 minute, stirring constantly. Remove from heat.
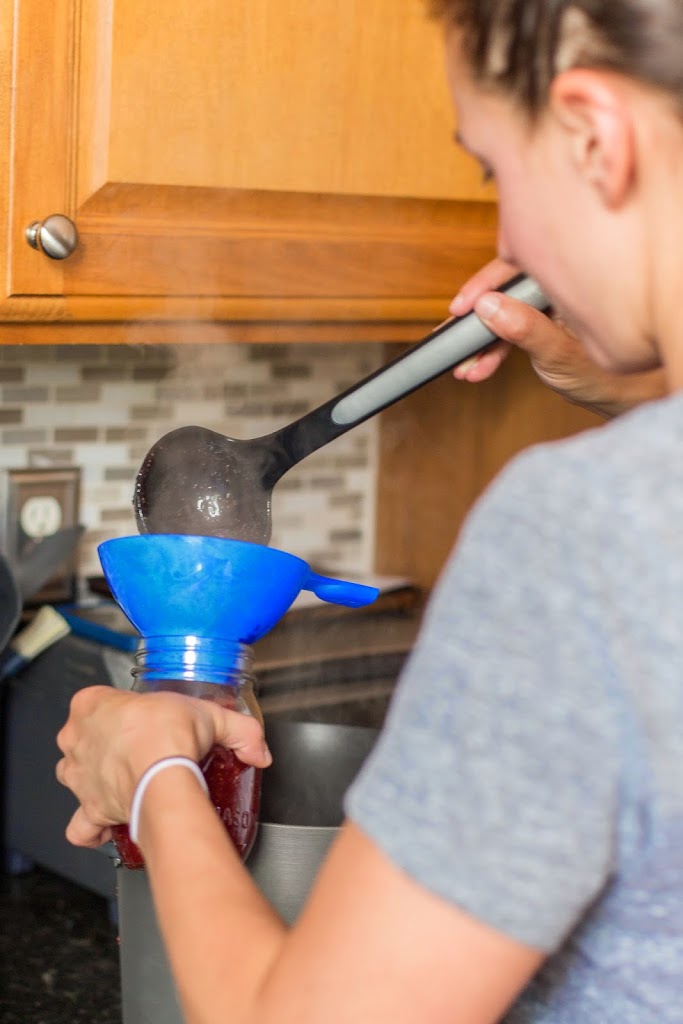
9. Quickly ladle into prepared jars, filling within 1/8 inch from top. Wipe rims and cover with two piece lid, screwing bands tight.
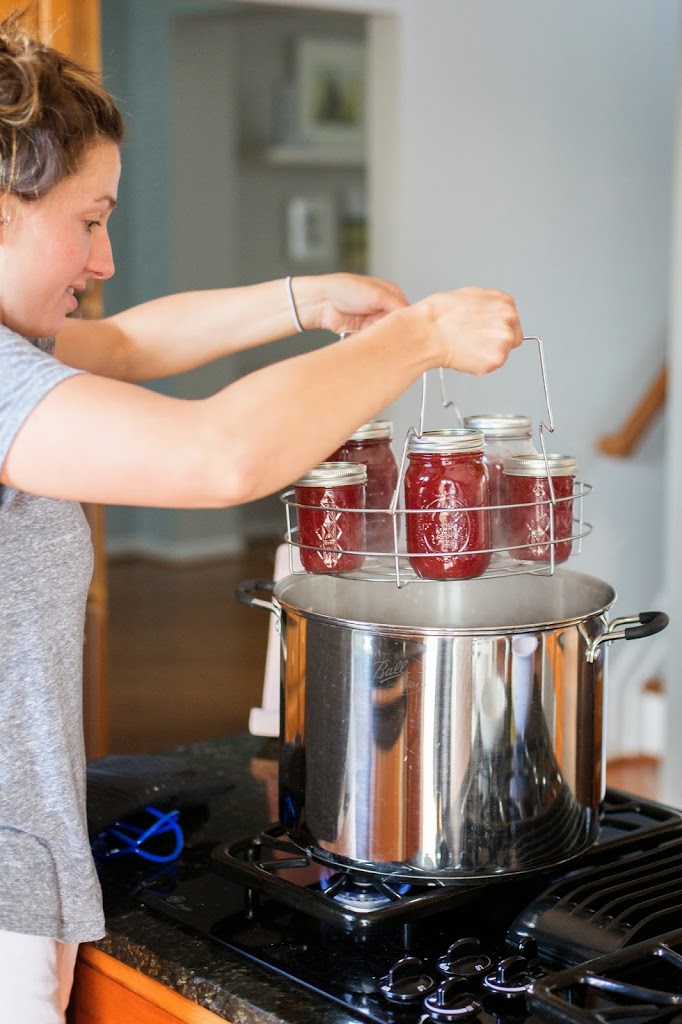
10. Place jar on rack and lower into canner, coving with lid. Water must cover jars 1-2 inches. Bring water to a gentle boil. Once it begins to boil, process jams for 10 minutes.
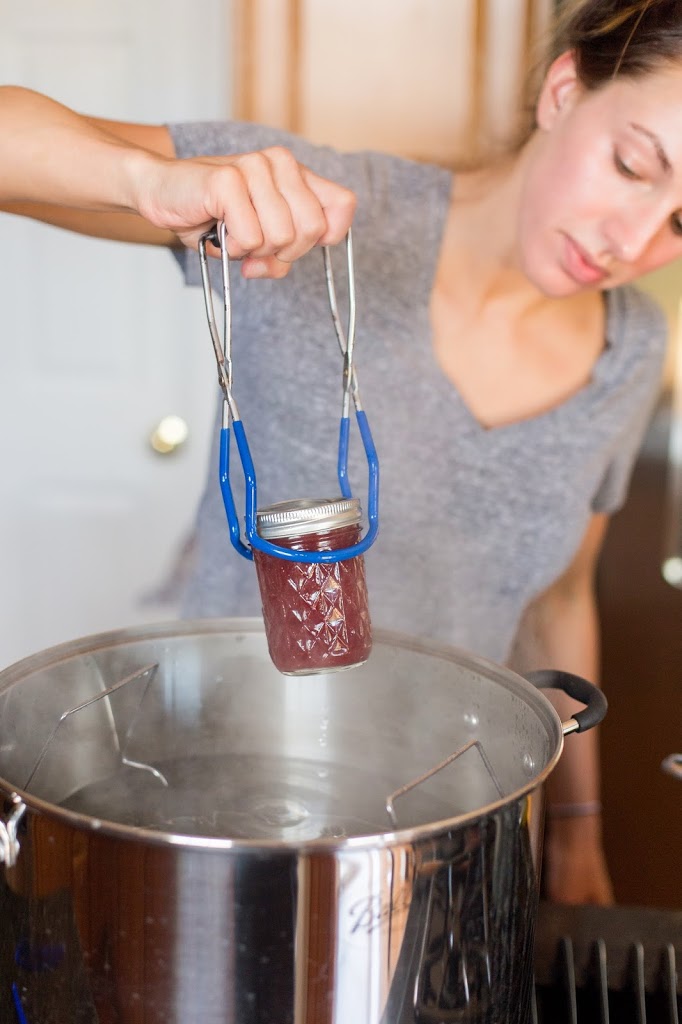
11. Remove jars and place upright on a towel. You should start to hear a “popping” sound — this means your jars have sealed and you were successful! Do not touch jars until completely cool, at which time you should check middle to ensure they are sealed. Any that did not seal must be refrigerated immediately.
12. Allow them to stay at room temp for 24 hours. Store for up to one year!
**Note: DO NOT double the recipe! Make one batch at a time. You’ll end up with syrup.


add a comment
+ COMMENTS